A good programmer needs to train and develop their skills regularly. An interesting way to do this is to develop games. Why is this so? In game dev there are complex algorithms and in many cases non-standard tasks. Even if you’re not a fan of the games industry, the skills you learn while developing games can be useful in other projects.
Based on the above, we dare say that every programmer should at least once write a game, even the simplest. Let’s begin training with a simple task, which is to develop a game engine. Since this is the first game and we are just starting to get into game dev, we don’t recommend using any high-level frameworks, libraries or engines. This can complicate things considerably, and even discourage you from moving forward.
What tools do we need:
- html, css, javascript programming languages;
- module design pattern;
- SPA application methodology;
- RequireJs library;
- JsDoc recommendations;
- layered architecture.
Stages of Algorithms Creation
Be sure to keep in mind that the algorithm should be as flexible as possible. In order to achieve this, it is best to break down the overall task into several steps. Note that the steps should be divided in such a way that they are independent of each other. It is assumed that the steps can be performed by different programmers.
The ‘page’ stage is the stage which includes all the steps to develop the games page, including creating the canvas and setting up its characteristics, adding buttons, uploading the image and many others.
The ‘game’ stage – think through the logic of the game, encapsulate the main calculations. Pay special attention to interface design, so that starting and stopping the game is simple and straightforward. Don’t forget to prepare the score parameters as well.
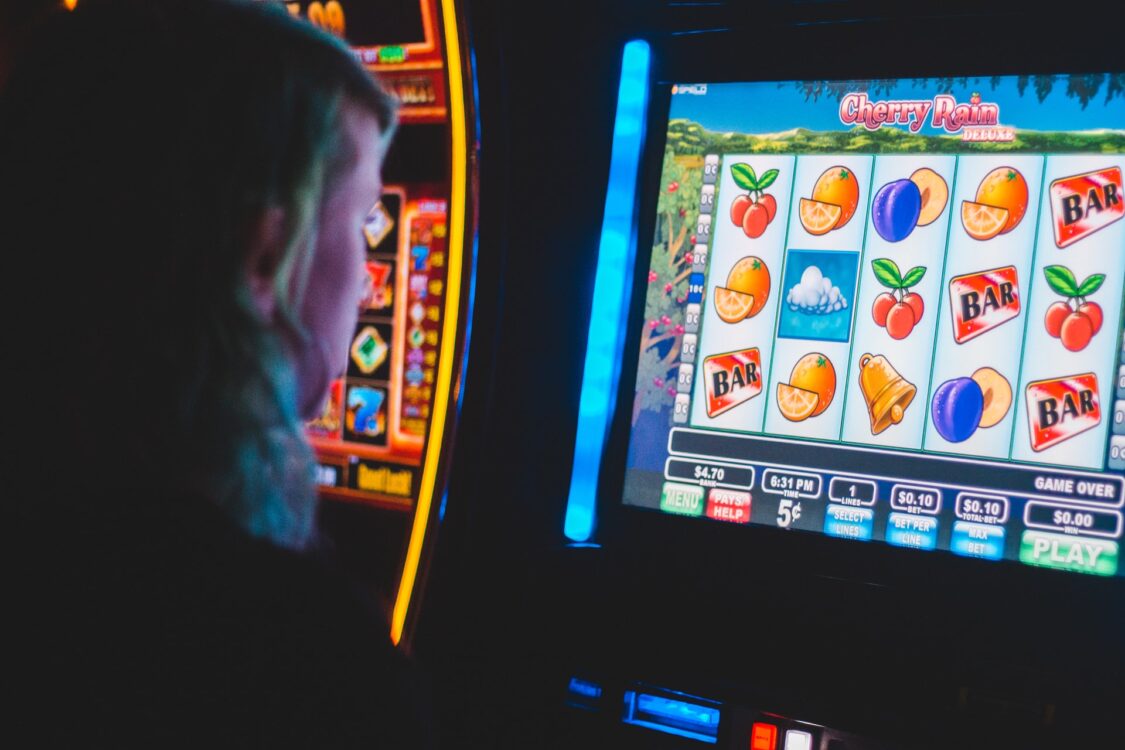
The “draw” stage is the graphical display of the canvas. You can get ideas from a variety of online casino slots outside of GamStop at Very Well Casino and many similar casinos. Do your best to make sure that the drawing does not affect the logic of the game.
Because making edits to a module with game logic can damage the debugged code, especially if it was written by another programmer.
Make sure that the configuration file is in a separate module. This is important to do in all games. Large games have hundreds of parameters, and the requirements may change at the most unexpected moment. I recommend that this module should calculate the parameters that can depend on others.
Configuration of Our Slot
lots : {
1 : {
‘src’ : ‘img/lots/seven.png’,
‘rate’ : 500,
‘type’ : ‘seven’
},
…
}
- src – image address;
- rate – points if you win;
- type – lot type.
- symbolWidth – width of the lot;
- symbolHeight – height of the lot;
- slotCount – number of slots (columns);
- lineCount – number of displayed lines;
- centerLine – number of win line;
- speed – speed of elements movement (displacement per one iteration);
- winAnimationCount – number of frames to play winning animation;
- stopGameDelay – delay before game stop;
- stopSlotDelay – delay between stopping each slot;
- winAnimationDelay – delay in playing winning animation.
- lotsCount – number of lots;
- width – width of the playing field;
- height – height of the playing field;
- itemsInSlotAmount – number of items in one slot;
- slotHeight – height of the slot;
- duplicateCount – number of duplicates in a slot.
Please note that the start of the game can only be accessed after all images have been pre-loaded.
Game Logic
The core of the application will be the game scene and the three main methods of working with it.
- Scene initialisation
- Scene recalculation
- Scene display
In our case, the game scene looks like:
{
“1”:
{
“1”: {“x”: 0, “y”: 0, “type”: “5”},
“2”: {“x”: 0, “y”: 144, “type”: “4”},
“3”: {“x”: 0, “y”: 288, “type”: “3”},
…
}
“2”:
{
“1”: {“x”: 266, “y”: 0, “type”: “2”},
“2”: {“x”: 266, “y”: 144, “type”: “5”},
“3”: {“x”: 266, “y”: 288, “type”: “1”},
…
}
…
}
There are several slots, in which elements are randomly placed, which in turn are described by coordinates “x”, “y” and type “type”. At each iteration of the game an offset is added to the “y” coordinate of all the elements. Elements that fall outside the visible playing field are moved to the beginning. After each recalculation the elements are displayed in the visible part of the field. And so on, until a stop event comes from the timer or from the stop button. But the calculation doesn’t stop there. We need to bring all the elements in the scene into balance, i.e. bring them to their original position. To do this, each slot will have three attributes.
- isFinishTime – initialisation of a stop;
- isFinishCalc – stopping the calculation;
- isFinishDraw – display stop.
If the isFinishTime flag has a positive value, the residual offset is checked. If it is less than the configuration one, the elements are refined and the isFinishCalc flag changes. When the last iteration is complete, the isFinishDraw flag is set to a positive value and the game loop is terminated. Then a win check is performed and a winning animation if successful.
The Outcome
The basis of game programming is:
- Intelligent configuration;
- Pre-loading of resources into RAM;
- The game scene;
- Initialisation of the scene and resetting of timing parameters;
- Game cycle;
- Scene recalculation at each iteration of the game cycle;
- Scene display after each recalculation;
- Resource saving (partial redrawing of the scene, etc.);
This example demonstrates a classic game development approach and can be a miniature projection of a larger project.